
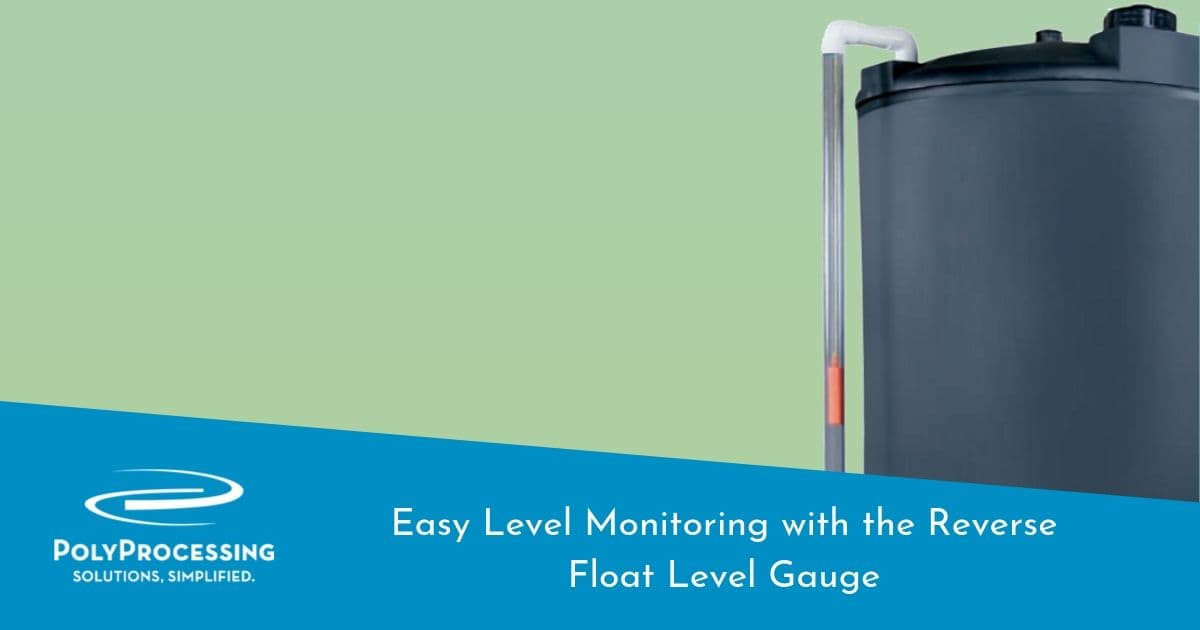
Easy Level Monitoring with the Reverse Float Level Gauge
You need to know how much chemical is in your storage tank so you can order more product at the right time to continue business without missing a beat. Not only that, but certain chemicals have to be stored at specific levels to maintain their properties. Replacing the chemical too early or too late can stall your operations, ruin your inventory, and impact your profits.
The Poly Processing Reverse Float Level Gauge makes it easy to monitor the levels in your chemical storage tanks. Unlike many other tank level indicator gauges, the reverse float level gauge is a simple system that doesn’t require channeling the chemical to the outside of the tank in order to see the level. The gauge is installed on the outside of the system for easy monitoring, but the chemical stays inside the tank. If the gauge pipe cracks or breaks, there’s no danger of the chemical siphoning out of the tank.
Watch this quick video to see how the reverse float level gauge works.
Why Use a Reverse Level Gauge?
A level gauge monitors the liquid level of the chemical in the polyethylene tank. There are several types of gauges, and Poly Processing works with many types of level indicators, including clear tube level gauges and ultrasonic level gauges. But in almost all cases, we recommend our reverse float gauge for its simplicity and ease of maintenance.

How the Reverse Float Level Gauge Works
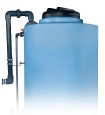
Poly Processing’s reverse float level gauge consists of a float inside the tank, which bobs on the surface of the chemical. The float is compatible with any kind of chemical that can be stored in a Poly Processing tank. The float is attached to a rope, which travels through a clear vertical pipe on the outside of the tank. A level indicator is attached to the end of the rope.
As the tank is filled, the chemical lifts the float inside the storage tank, and the level indicator on the outside is lowered. As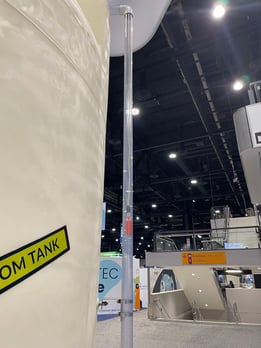 a reverse gauge, the level indicator shows the reverse of a tank’s level—the lower the indicator, the fuller the tank.
The reverse level gauge uses a pulley system with polypropylene rope, nylon rollers inside of PVC elbows, clear pipe, and a level indicator. The external components are dry-fit together, not glued. Assembling and replacing the gauge is easy and only takes a few minutes. Maintenance is simple, and individual pieces can be replaced, if needed.
Benefits of the Reverse Float Level Gauge
While the level indicator isn’t intended for precise monitoring or metering, it reliably provides a basic, easy to read indication of your chemical storage tank’s capacity. The gauge is ideal for facilities that need to know when to refill their tanks, but don’t need precise volume numbers.
The reverse float level gauge provides additional benefits, including:
- No stains on the clear pipe from chemicals or UV attack
- No siphoning of the tank if the pipe breaks, because there is no chemical in the external pipe
- The internal float is designed to work with 1.0 to 1.8 specific gravity fluids
- No chemical burns or chemical spurts on operators
- Reverse calibration tape can be added for tank capacity
- Provides mechanical verification of ultrasonic or other electronic level sensor

The reverse float level system can be used on almost any tank, including double-walled SAFE-Tanks. There are different dome mounted fittings used for the reverse float gauge. If the fitting is installed on the flat you can use a PVC or SS bulkhead fitting. On the curvature of the dome you must use the universal ball dome fitting or made vertical curved fitting.
Download the Reverse Float Level Gauge guide here.
Where to Mount a Reverse Float Level Gauge
Choose a location that operators can see from the normal fill area or chemical room walkway. You want a clear line of sight to the indicator without climbing on the tank or reaching over piping.
Keep the external clear pipe straight and plumb. If you mount it where it has to bend around conduit, bracing, or a platform rail, the indicator can rub and hang up.
Leave working room above the mounting point. You need enough space to route the rope through the elbows and to service the top connection without fighting nearby nozzles, vents, or manways.
If you have heat tracing, insulation, or a sunshade, plan the gauge location first. Do not install the gauge where future insulation or jacketing will block the viewing tube.

Reverse Float Level Gauge Installation Checklist
Use this checklist any time you install a new reverse float level gauge or replace parts.
Before you start
- Confirm that you have the correct dome or bulkhead fitting for the mounting surface. The dome curvature and flat areas use different approaches.
- Confirm the stored liquid falls in the specific gravity range the float is designed to handle.
- Verify you have a straight run for the clear pipe and a solid point to secure it so it stays vertical.

During installation
- Keep the clear pipe plumb. A small lean can create constant drag on the indicator.
- Make sure the elbows align so the rope path stays centered on the rollers.
- Keep the rope off sharp edges. Any rubbing point will show up later as sticking or frayed rope.
- Dry-fit the external components as intended. Do not glue the joints.
- Cycle the float by hand before you put the tank back in service. You should see smooth travel with no hesitation.

Maintenance and Inspection Intervals
The reverse float level gauge is simple. That does not mean you can ignore it. A quick inspection during routine rounds helps you catch problems before you lose level visibility.
Monthly
- Wipe down the clear pipe so the indicator stays easy to read.
- Check that the pipe still sits vertical and that clamps or supports stay tight.
- Look at the indicator position during fill and drawdown. You should see consistent movement.
Quarterly
- Inspect the rope for fraying, flattening, or chemical attack at the top entry points and at the indicator connection.
- Spin the rollers by hand if accessible. They should turn freely without binding.
Annually
- Pull the float up enough to inspect the rope attachment and the float condition.
- Replace worn rope or rollers before they fail. The gauge uses individual components that can be replaced as needed.

Troubleshooting a Reverse Float Level Gauge That Sticks or Reads Wrong
If the indicator does not move, moves in jumps, or gives inconsistent readings, start with the basics. Most issues come from drag in the rope path.
1) Check the clear pipe for alignment
- Confirm the pipe is plumb.
- Confirm nothing presses on the pipe or elbows.
2) Check the rope path
- Look for rubbing at the elbow entries and exits.
- Check for rope twist, knots, or slack that lets the rope ride out of position.
3) Check the rollers
- A roller that does not turn freely can create enough friction to stop the indicator.
- Look for debris in the elbow that blocks roller movement.
4) Check the float
- If the float drags on internal obstructions, the outside indicator will act the same way.
- If the stored liquid is outside the intended specific gravity range, the float response can change.
5) Verify the tank is venting properly
- If the tank cannot breathe during filling and draining, you can see odd behavior across the system. Address venting issues first.

Using Reverse Calibration Tape for Capacity Checks
Reverse calibration tape helps operators tie the indicator position to an approximate tank capacity.
Start by treating the gauge as a repeatable reference, not a metering device. The post already calls out that the indicator is not intended for precise monitoring or metering.
How to put tape readings to work
- Mark your normal reorder point and your normal high-level operating point.
- Confirm those marks during a controlled fill when you know the delivered volume.
- Train operators to use the same viewing angle each time to reduce reading variation.
If you need tighter volume accuracy for dosing, batching, or inventory reconciliation, use the reverse float gauge as a visual check and rely on a purpose-built measurement method for precision.
If you want help selecting the right mounting option, or you want a quick review of your layout before you install a reverse float level gauge, talk to a Poly Processing chemical storage tank expert.


Posts By Topic

Tech Talk Podcast Episodes
Subscribe By Email
Recent Posts
- Flexible Connectors and Isolation Valves: Why Correct Installation Protects Your Chemical Storage Tank
- Why ASTM D-1998 Still Matters: The Standard That Separates Serious Tank Manufacturers from the Rest
- Brine Storage Tank Solutions: Material and Manufacturing
- Understanding Pressure Limits in Polyethylene Chemical Storage Tanks
- Easy Level Monitoring with the Reverse Float Level Gauge
Tank Configurator
Find the recommended tank and system components for your chemical storage challenge.
Configure a Tank Package