
Common Chemical Storage Tank Installation Questions
A chemical storage tank system is a large investment. Just as proper tank maintenance and frequent inspections help ensure that the tank lives out its projected useful life, it is equally important to install the tank properly. Being prepared for the tank delivery, hydro testing the tank, and making sure fittings and flexible connectors are properly installed set your tank system up for successful operation. Here are some common questions we get regarding the installation process.
Chemical Tank Installation FAQ
Q: How do I properly unload the tank(s) once the truck arrives?
![Chemical Tank Install<br />
]]><br />
<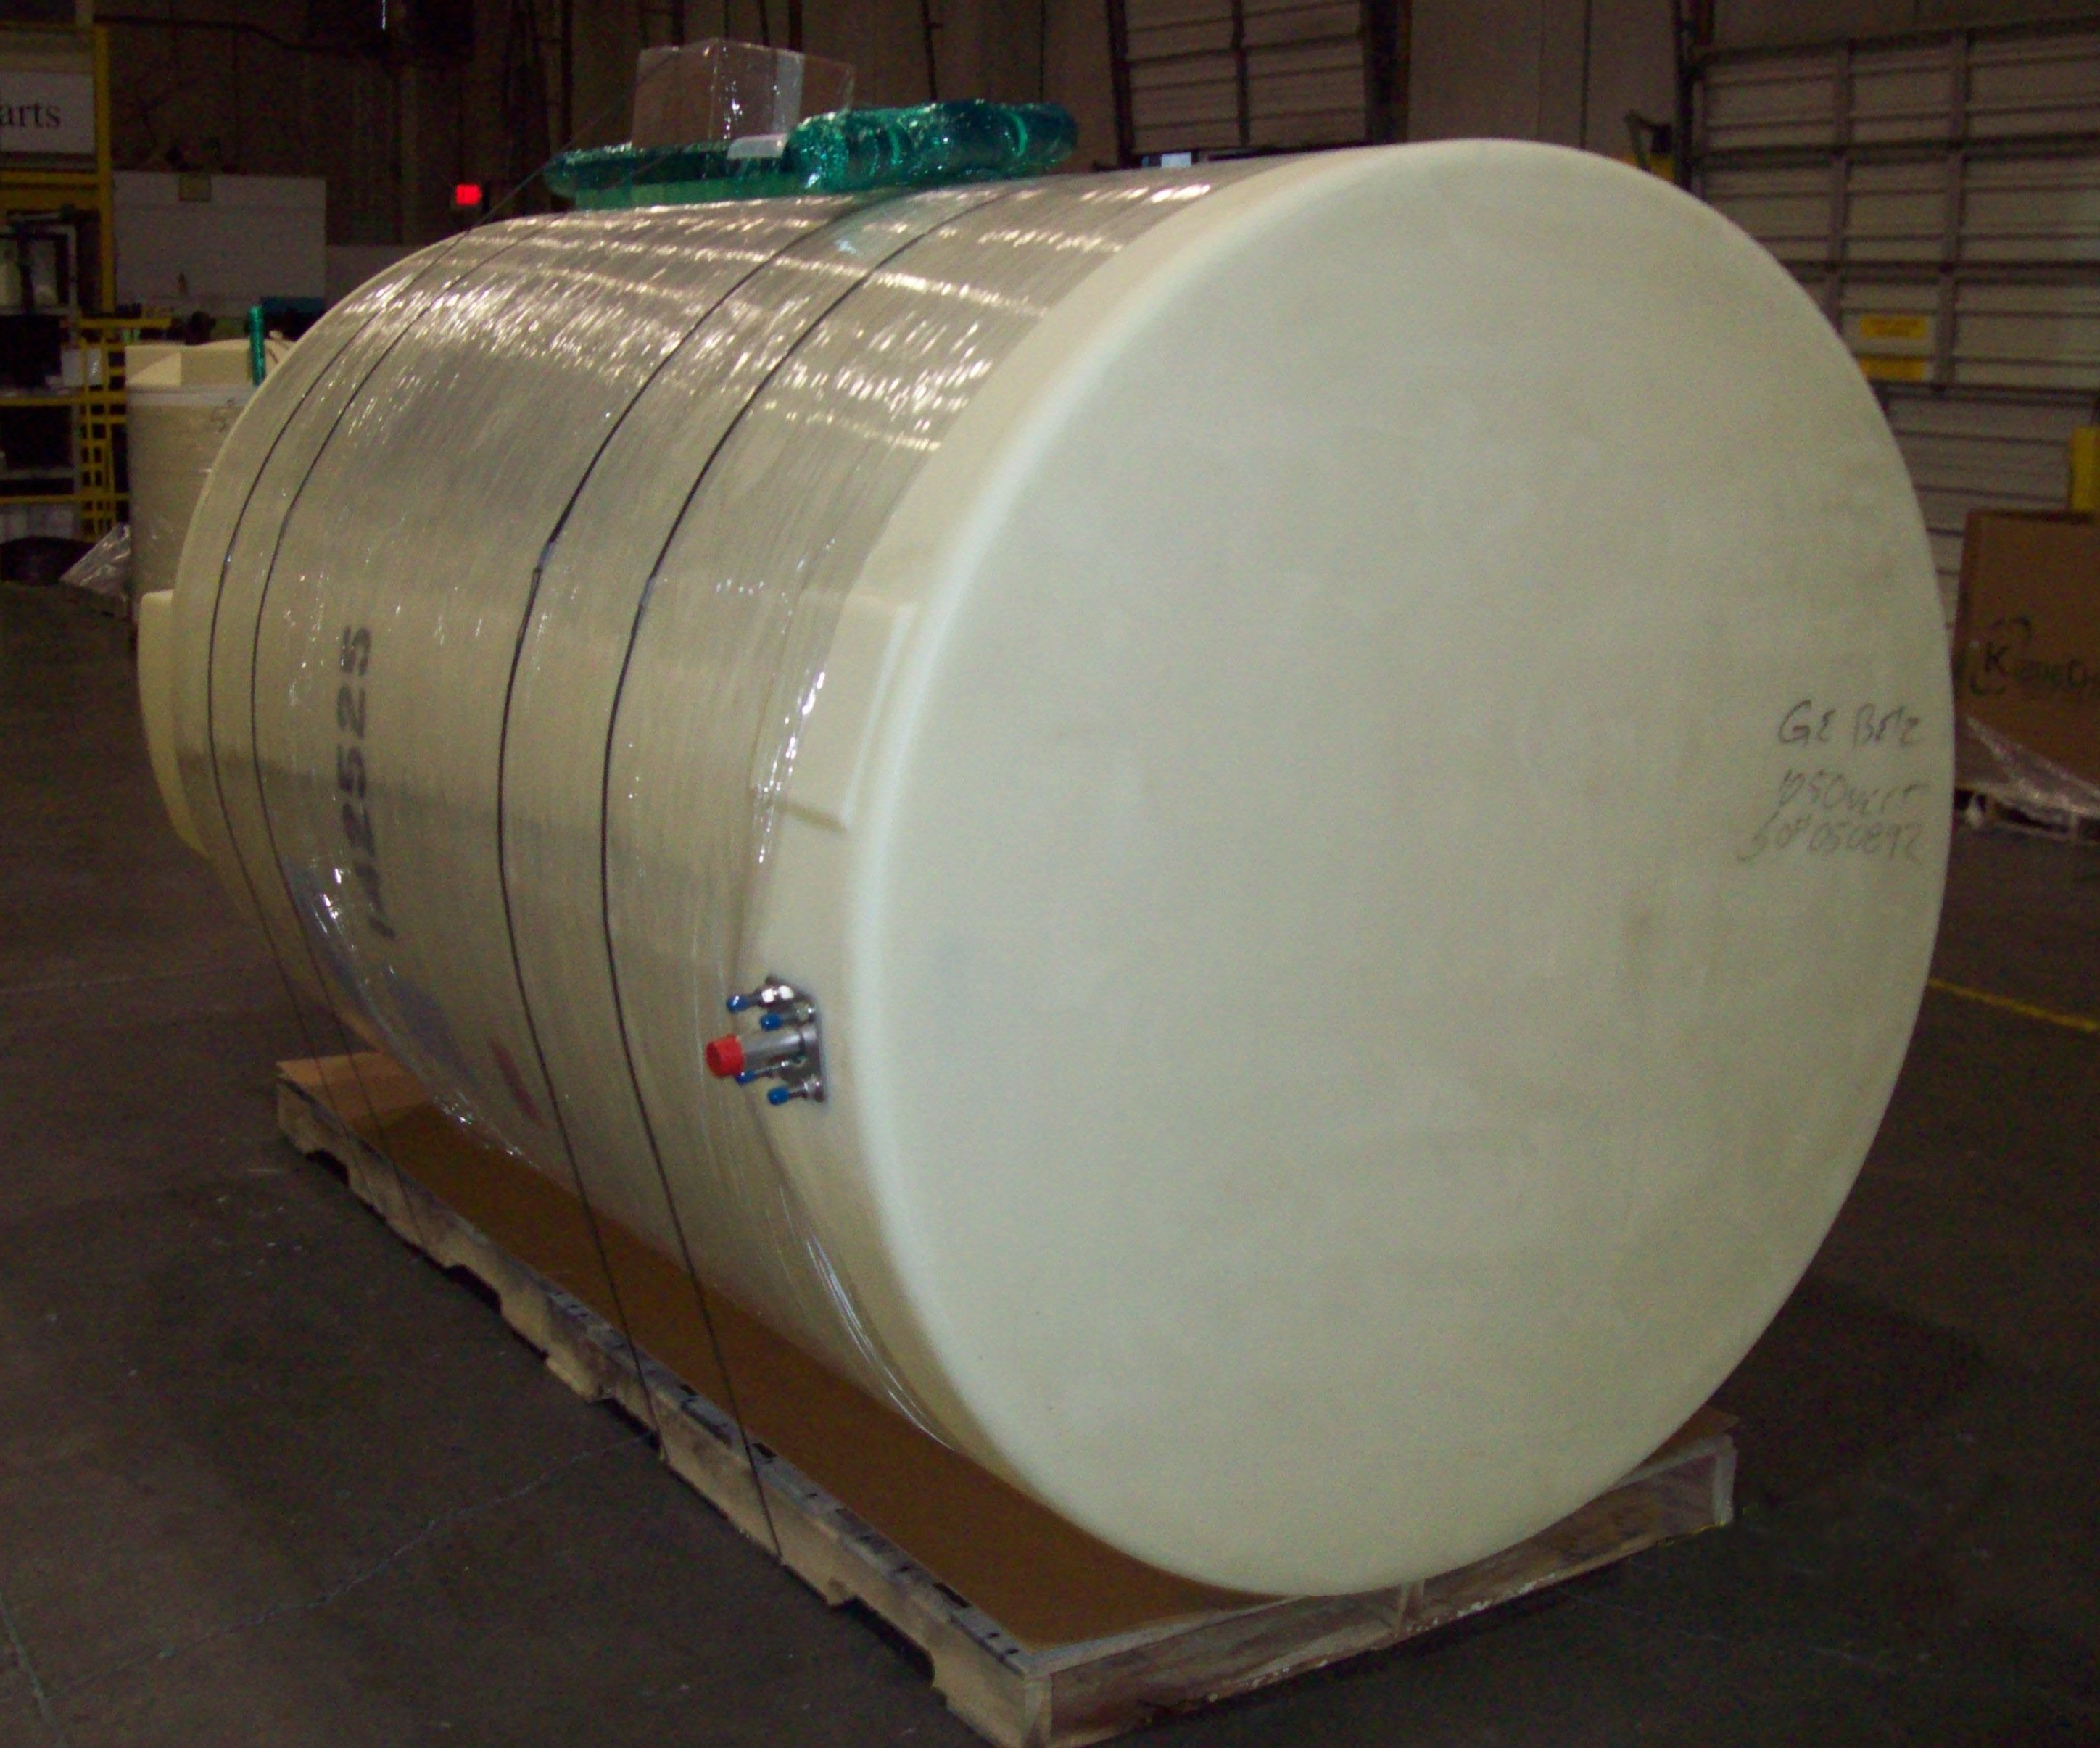
A: Ideally, you’ll have this step planned out long before your tank arrives. If you don’t, a conversation with the shipping department can be beneficial to discuss different methods of moving your tank, such as transport via lifting lugs or forklift. We have a comprehensive installation guide with offloading instructions, so make sure to look at that prior to tank delivery. We strongly encourage your purchase order contain a contact name for whoever will receive the tank from our truck. We will call them the week before to go over everything from entry gate to unloading equipment and point out videos and instructions as mentioned above.
Q: What is the proper torque on the bolts on my fitting?
A: Tanks can shift during shipment and travel, causing the fittings to loosen. Prior to water testing, check the torque on the fittings according to our recommended torque values. When you’re checking the bolts, do it in a star pattern – rather than one bolt after another in a circle. The star pattern allows for the fitting to properly conform to the tank wall.
Q: What do I need to do before I add the chemical?
A: One of the most important things you can do prior to adding your chemical is to hydro test your tank. If you simply install the tank and fill it with chemical, you take the chance that a fitting will leak or another problem will occur. This wastes valuable chemical and can degrade the stability of your tank. Filling the tank with water, or “hydro testing” it, shows you any problems before you task the tank with your application.
Q: How do I put together a reverse level indicator?
A: We have a comprehensive video tutorial on installing a reverse float level liquid gauge, as well as a PDF diagram to assist you. If additional assistance is needed, call a field service representative to walk you through the process.
Q: Why do tanks need flexible connectors?
A: Polyethylene chemical storage tanks expand and contract, especially when the tank is filled by a tanker truck. The more often the tank is filled, the more it flexes and expands, which is a natural property of polyethylene (and consequently is one reason XLPE is such a great material for chemical compatibility). However, if a hard-piped fitting is installed on the tank, it does not move with the expansion and contraction, thus creating a hinge point on the lower 1/3 sidewall of the tank. Flexible connectors move with the tank, resulting a safer storage area and longer tank life.
Q: How do I set up my restraint system?
A: If you need a restraint system, it’s likely because your local or state code has set up standards which require it based on the seismic activity in your region. First, consult that code for the requirements of your restraint system and be sure to place clips evenly. Three of the clips connect to cables to keep the tank safe from wind, and three of the clips are drilled into the ground to keep the tank from moving side to side. We see clips installed right next to the tank, which puts too much stress on the lower 1/3 sidewall of the tank and can create a hinge point. The clips should have a gap (typically an inch) between the clip and tank wall. Make sure to consult the restraint systems section of the installation guide for complete instructions. We provide different sizes, position, and quantity of clips based on tank geometry and seismic zone.
For more information surrounding proper installation tips and techniques, check out our comprehensive installation guide, and you can contact a field service representative for more information.

Posts By Topic

Tech Talk Podcast Episodes
Subscribe By Email
Recent Posts
- Flexible Connectors and Isolation Valves: Why Correct Installation Protects Your Chemical Storage Tank
- Why ASTM D-1998 Still Matters: The Standard That Separates Serious Tank Manufacturers from the Rest
- Brine Storage Tank Solutions: Material and Manufacturing
- Understanding Pressure Limits in Polyethylene Chemical Storage Tanks
- Easy Level Monitoring with the Reverse Float Level Gauge
Tank Configurator
Find the recommended tank and system components for your chemical storage challenge.
Configure a Tank Package